🏷️
Service Now Tips - Revised
to streamline your ticket-tracking life
Related articles:
Most of these tricks I discovered by clicking around in Service Now.
The most important lesson I’ve learned is that Everything in Service Now is a button - even things that don’t look like buttons. Even when the cursor doesn’t change to a finger. Click everything!
Labels
Labels

- Labels allow you to “label” any ticket so you can come back to it later. This is similar to “starring” or “flagging” in other software.
- They indicate when tickets have changed since you last opened it. The label displays the number of unread tickets with a number after the title, such as
Given to Other Department (3). - Links are ordered, most recently edited at the top.
- Blue links have changed since you last opened them. Purple ones have not changed.
- They are personal; no sharing capability.
- See the Service Now wiki page about Labels to see how these work.
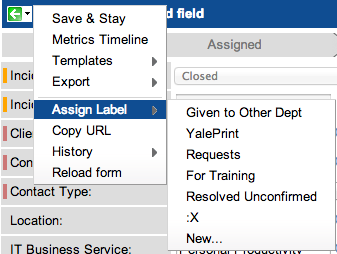
- To apply a label to a ticket, right-click on the top bar of a ticket (e.g. “Incident… Apply Label… LabelName”)
“Most Recent” Label
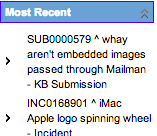
"I just had it open!"Service Now knows what tickets you were just looking at. You can view the history under the “Most Recent” label. Service Now will show you the most recent 20 tickets you had open.- Activate the “Most Recent” label by following the instructions on the service now wiki page Most Recent Labels.
Autocomplete Fields
Star Search
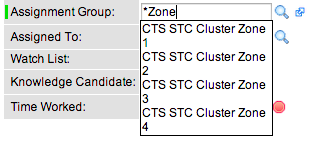
- Normally when you use an autocomplete field in Service Now you have to know what the text starts with.
- If you type
*before the text you type, Service Now will search for things in the middle of the text as well.
Doublestar Dropdowns
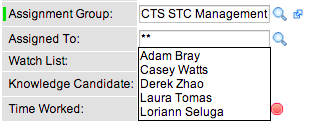
- In any autocomplete field in Service Now, you can type
**to see all of the available options. This can be useful for short lists, such as “Assigned To” within a small Assignment Group.
Ticket Table View
Customize Columns
- In a table view (such as “My Incidents”) you can control which columns appear by pressing the cog in the top left of the table.
Show More Rows
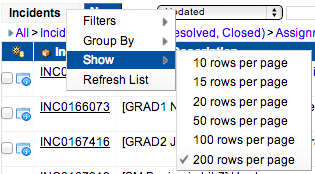
- Most list views have more than 20 items. It is usually worth viewing more than that many at once.
- Showing 200 rows doesn’t slow the page load time at all within Yale’s Service Now environment.
- On any tabulated page click the button at the top left, named after the page (such as “Incidents”)
Incidents => Show => 200 rows per page
Creating Custom Searches
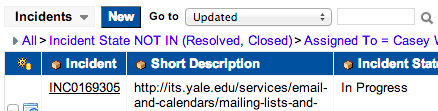

- You can modify any search by pressing the arrow to the left of “All”
Filtering by Related Tables’ Fields
Enabling Related Tables

- Normally when you’re creating a search for Incidents you can only see fields that are in the table
Incident, such asClientandAssignment Group. - If you enable “Show Related Fields”, you can also search through fields in related tables, such as for the Client’s
NetID. NetID is recorded in the User table but not in the Incident table directly. - The “Show Related Fields” option is at the very bottom of the search filter drop-down.
Using Related Fields
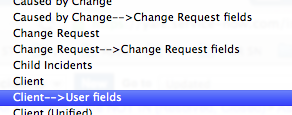
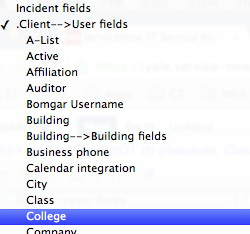
- Once related fields are enabled, you need two clicks to get what you need. If you’re looking for the Client’s College, here is an example:
- Click on
Client --> User fields - Click on the field you’re looking for, such as
College
- Click on
Ticket View
Templates (Personal Ones)
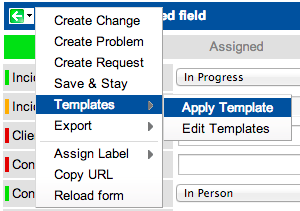
- When you need to repeat a set of actions to an incident, a template can help “stamp” the set of fields for you.
- To apply or create a template, right-click on the top bar of a ticket (where “Assign to me” and “Save & Stay” are located)
Templates via Knowledgebase Articles

- Most often, a template is used through its associated Knowledgebase article. When you apply a Knowledgebase Article to an incident, it will apply the associated template.
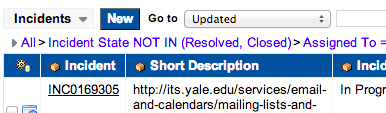
- To attach a Knowledgebase Article to an incident, click on the blue book icon to the right of the Short Description and then search for it by name, keywords, or article number.
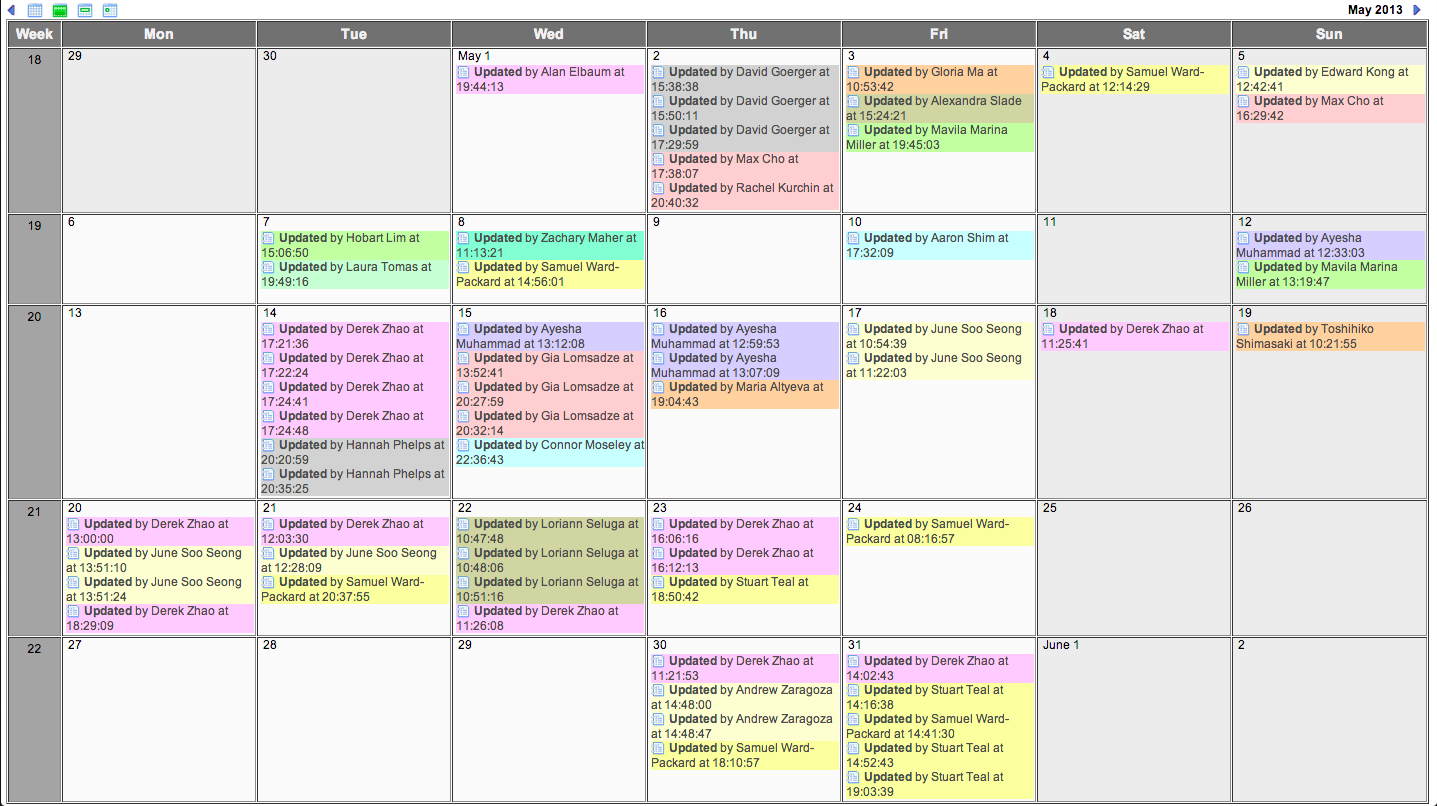
Calendar View
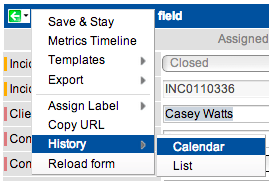
- Service Now can display all of a ticket’s updates on a calendar view.
- You can also filter what is displayed depending on the kinds of updates you want to see (such as only additional comments an emails, hiding work notes and assignment group changes)
- This isn’t a feature that’s often useful in everyday work, but it really helps to figure out when things happened in a long ticket.
- Access the calendar view by going to
History => Calendarafter right-clicking on the top blue bar of a ticket.
Filtering Long Ticket History

- Some work notes get long; the “Activity Formatter” can be used to show only certain fields in the history log. STC normally hides “email” (not additional comments) and “description”.
- To enable the activity filter, press the
>>icon next to “Activity”, located below the Work Notes field. - For more details, see the service now wiki page on the Activity Filter
- It can also be toggled on and off, by pressing the siphon icon.


Email Notifications
Toggling Notifications
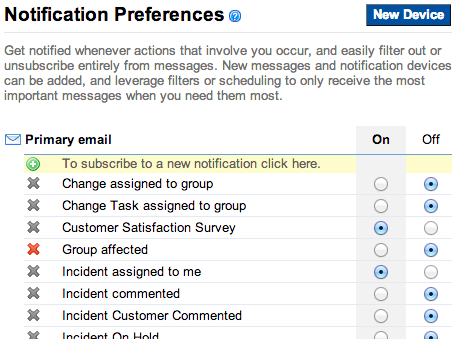
You can control which emails Service Now sends you! Here’s how:
- Under Self-Service, navigate to
My Profile - On your “User” page, under “Related Links” click on
Notification Preferences. - Toggle any email on or off
Custom Filtering Notifications
Bonus! You can add a filter to an notification.
For example: You are in three assignment groups and don’t want emails when an incident is assigned to one of them. That’s totally possible!
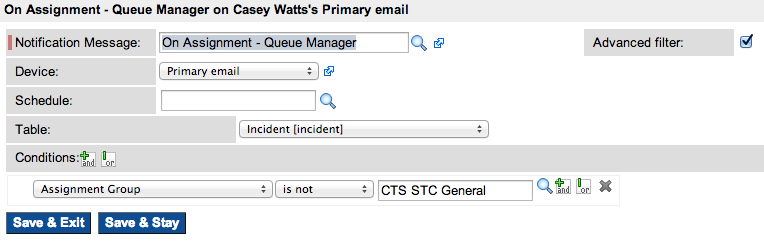
- Click on the
titleof the notification (ex: “On Assignment - Queue Manager”) - In the popup, check
advanced filter - Add the conditions below, just like you would for filtering ticket lists.